Activities & Resources

Redesign your community or school in a sustainable way!
- Grades 3 - 12
- Ages 6-7, 8-10, 11-14, 14+

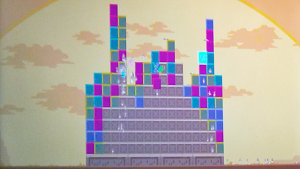
Design your own addition to this inspiring exhibition
- Grades 1 - 12
- Ages 4-5, 6-7, 8-10, 11-14, 14+
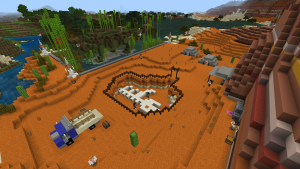
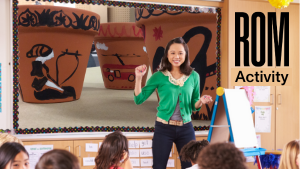
Learn more about our independent, self-guided, and special event Minecraft programs
- Grades 3 - 12
- Ages 6-7, 8-10, 11-14, 14+

Discover the world's most striking wildlife photos!
- Grades 4 - 12
- Ages 8-10, 11-14, 14+

Discover how humour and satire can be used to address the impacts of disaster
- Grades 3 - 12
- Ages 6-7, 8-10, 11-14, 14+

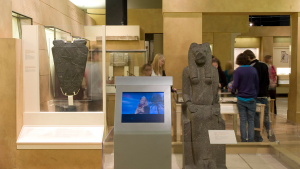
See how this amazing sculpture makes us re-think our ideas about the past
- Grades 3 - 8
- Ages 6-7, 8-10, 11-14
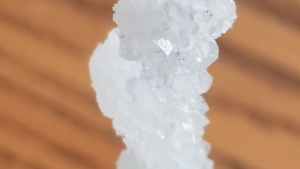
Use some sweet kitchen chemistry to grow your own sugar crystals.
- Grades 3 - 8
- Ages 8-10, 11-14
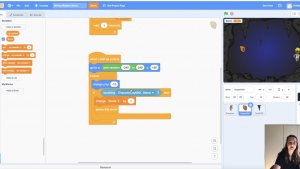
Explore the importance of copper and learn to code a game!
- Grades 4 - 10
- Ages 8-10, 11-14, 14+
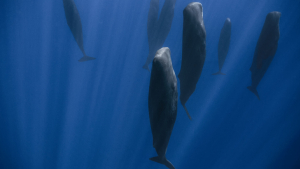
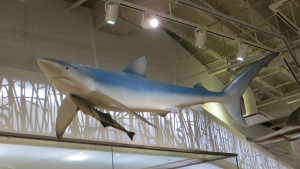
Journey into the deep with three great whales
- Grades 4 - 12
- Ages 8-10, 11-14, 14+
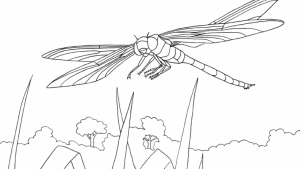
Get creative by colouring 6 different spring and summer insects!
- Grades 1 - 6
- Ages
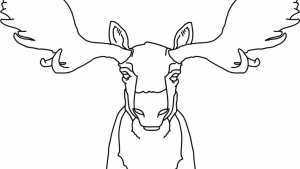
Get your crayons and markers to bring these pages to life!
- Grades 1 - 6
- Ages 0-3, 4-5, 6-7, 8-10

Learn the secrets of the museum's collections from the ROM curators and technicians
- Grades 6 - 12
- Ages 8-10, 11-14, 14+
ROM Teacher Julie Tomé guides us through new discoveries about the objects all around us
- Grades 3 - 8
- Ages 6-7, 8-10, 11-14
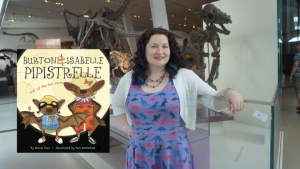
Join ROM teacher Sarah Elliott for fun stories and creative challenges
- Grades 1 - 4
- Ages 0-3, 4-5, 6-7
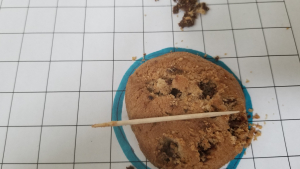
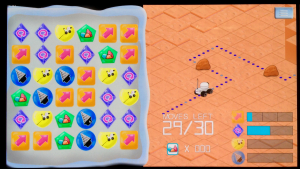
Dig into the basics of mining by extracting chocolate chips from a cookie
- Grades 4 - 8
- Ages 8-10, 11-14
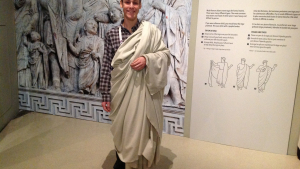
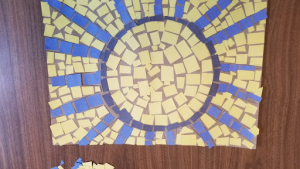
Learn how to step out in style like an ancient Roman citizen
- Grades 1 - 11
- Ages 4-5, 6-7, 8-10, 11-14

Watch our Indigenous Educators and guests share stories about ancestral objects
- Grades 1 - 12
- Ages 4-5, 6-7, 8-10, 11-14, 14+

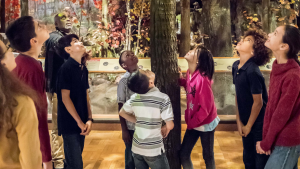
Virtually explore the museum from the comfort of your home
- Grades 1 - 12
- Ages 6-7, 8-10, 11-14, 14+

Calculate your ecological footprint with this resource developed by the ROM for the Biodiversity Education and Awareness Network
- Grades 9
- Ages 14+
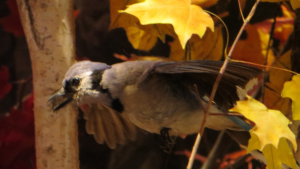
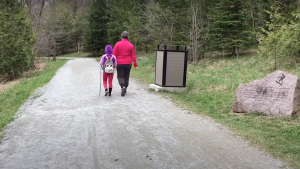
Get to know your backyard birds with this resource developed with the ROM for the Biodiversity Education and Awareness Network
- Grades 4 - 6
- Ages 8-10
Learn to identify trees around you with this resource developed with the ROM for the Biodiversity Education and Awareness Network
- Grades 3 - 4
- Ages 8-10
Analyze data sets to study invasive species in this resource developed by the ROM for the Biodiversity Education and Awareness Network
- Grades 12
- Ages 14+
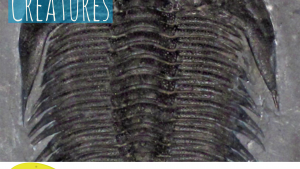
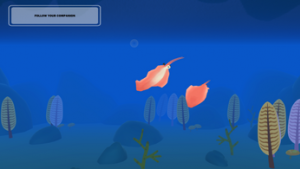
Assemble Cambrian creatures to see what makes them tick
- Grades 4 - 12
- Ages 8-10, 11-14, 14+

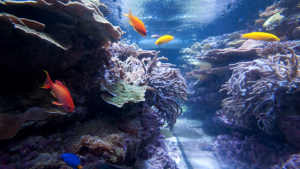
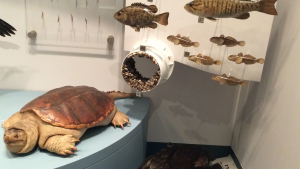
Dive into the Schad Gallery of Biodiversity and explore life beneath the waves
- Grades 2 - 12
- Ages 6-7, 8-10, 11-14, 14+
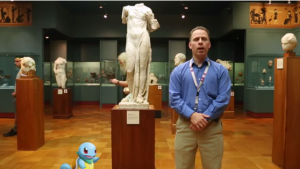
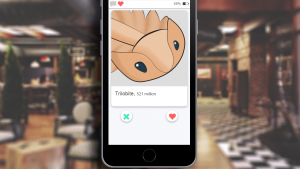
Learn more about the museum's PokéStops!
- Grades 1 - 12
- Ages 0-3, 4-5, 6-7, 8-10, 11-14, 14+
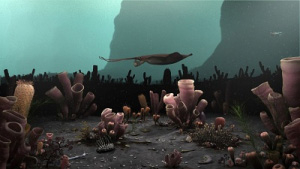
Discover some of the earliest, most unusual forms of life on Earth found in this Canadian World Heritage Site
- Grades 2 - 12
- Ages 6-7, 8-10, 11-14, 14+
Explore the ROM's vast collections and learn more about selected objects and specimens
- Grades 1 - 12
- Ages 4-5, 6-7, 8-10, 11-14, 14+
Command the Curiosity rover and see what you discover
- Grades 2 - 12
- Ages 6-7, 8-10, 11-14, 14+
Defend the Erf from incoming asteroids
- Grades 6 - 12
- Ages 8-10, 11-14, 14+
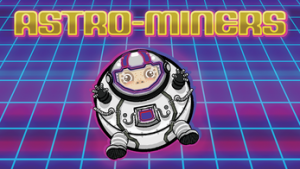
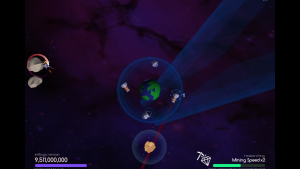
Blast through the asteroid and be the first to grab the minerals
- Grades 4 - 12
- Ages 8-10, 11-14, 14+
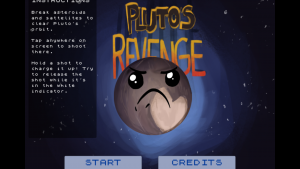
Pluto is determined to prove itself a planet! But can it?
- Grades 2 - 12
- Ages 6-7, 8-10, 11-14, 14+
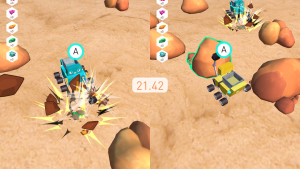
ERROR: Rovers gone rogue! Collect rocks on Mars and keep them away from the astronaut!
- Grades 3 - 12
- Ages 8-10, 11-14, 14+
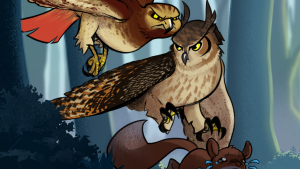
A battle between mighty birds of prey
- Grades 2 - 12
- Ages 6-7, 8-10, 11-14, 14+

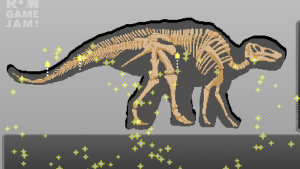
Help Professor Rex assemble a skeleton for the museum
- Grades 1 - 6
- Ages 4-5, 6-7, 8-10, 11-14

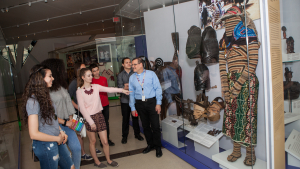
Discover the stories that art and objects tell about the people connected to them
- Grades 6 - 12
- Ages 11-14, 14+
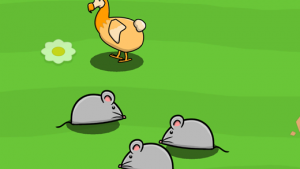
Use predator-prey games to understand why ecosystems need predators
- Grades 4 - 8
- Ages 8-10, 11-14

Use predator-prey games to understand how predators shape ecosystems
- Grades 4 - 8
- Ages 8-10, 11-14
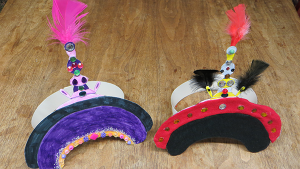
Discover what a Chinese court hat tells you about its owner by creating your own
- Grades 1 - 6
- Ages 6-7, 8-10, 11-14

Learn to write your name like ancient Egyptian royalty
- Grades 3 - 12
- Ages 8-10, 11-14, 14+

Examine the objects used by common people, nobility, and royalty to discover more about China's vast history
- Grades 2 - 12
- Ages 6-7, 8-10, 11-14, 14+
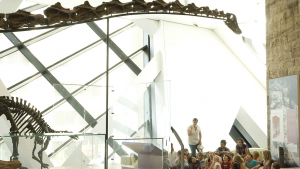
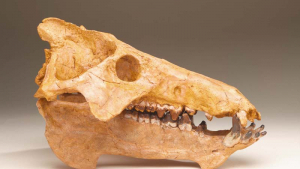
Discover fossil clues from that help us understand how dinosaurs lived millions of years ago
- Grades 2 - 12
- Ages 6-7, 8-10, 11-14, 14+
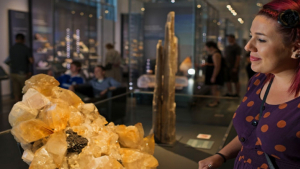
Discover the treasures from the Earth we use every day, from the ordinary to the extraordinary!
- Grades 2 - 12
- Ages 6-7, 8-10, 11-14, 14+
Discover the amazing and diverse adaptations that help living things survive and thrive
- Grades 2 - 12
- Ages 6-7, 8-10, 11-14, 14+
Investigate the lives of the Ancient Egyptians
- Grades 2 - 12
- Ages 6-7, 8-10, 11-14, 14+
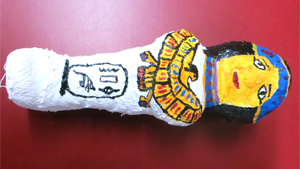
Create a mini-mummy case to learn how ancient Egyptians planned for the afterlife
- Grades 3 - 8
- Ages 8-10, 11-14