ROMKids Show: The One With The Parasaurolophus


Category
Audience
Age
About
Tune in every Tuesday at 2 pm on Instagram Live as ROM Kids Coordinator and Camp Director Kiron Mukherjee combines his passion for children’s education with storytelling to bring to life science, history and art for you and your loved ones in the comfort of your own home. Kiron will share activities, easy at-home crafts, behind the scenes anecdotes and fun facts—all connected to the ROM collections.
ROMKids Show: The One With The Parasaurolophus
Materials
- Bristol board or large piece of paper
- Markers or any similar substitute
- Scissors
- Stapler

1. On your bristol board, draw a straight line across the bottom of your sheet to create your headband. Then cut it out with your scissors.
2. Starting near the top of your page draw face 1 of your parasaurolophus. Start with a point on the right side of your bristol board, and draw a long, slightly curving, angled line to the opposite side. Close off the crest tube with a loop, and come back towards your original point. Halfway back towards the original point, stop and go straight down until you are the opposite of your original point. Then close the shape by drawing a straight line back to the original point. Your shape should now look like an iron or a shoe.
3. Cut out face 1 with your scissors and then trace it on the remaining bristol board to get face 2.

4. Match both faces together. Cut a diagonal line on the nose and jaw, so that they are less pointy. This will help your iron/shoe shape look more like a parasaurolophus skull.

5. Decorate your faces how you see fit. Is your parasaurolophus colourful? Spotted? Does it use camouflage? Or is it bright to attract attention?
6. Time to staple it all together. Wrap the headband around your forehead to find the correct fit. Then staple with the pointed end facing out and the flat end on the inside to protect your head.
7. Staple face 1 and face 2 to both sides of the headband, slightly titled downwards. Remember to staple with the pointed end facing out and the flat end on the inside.
8. Staple the nose together, and then the crest together.

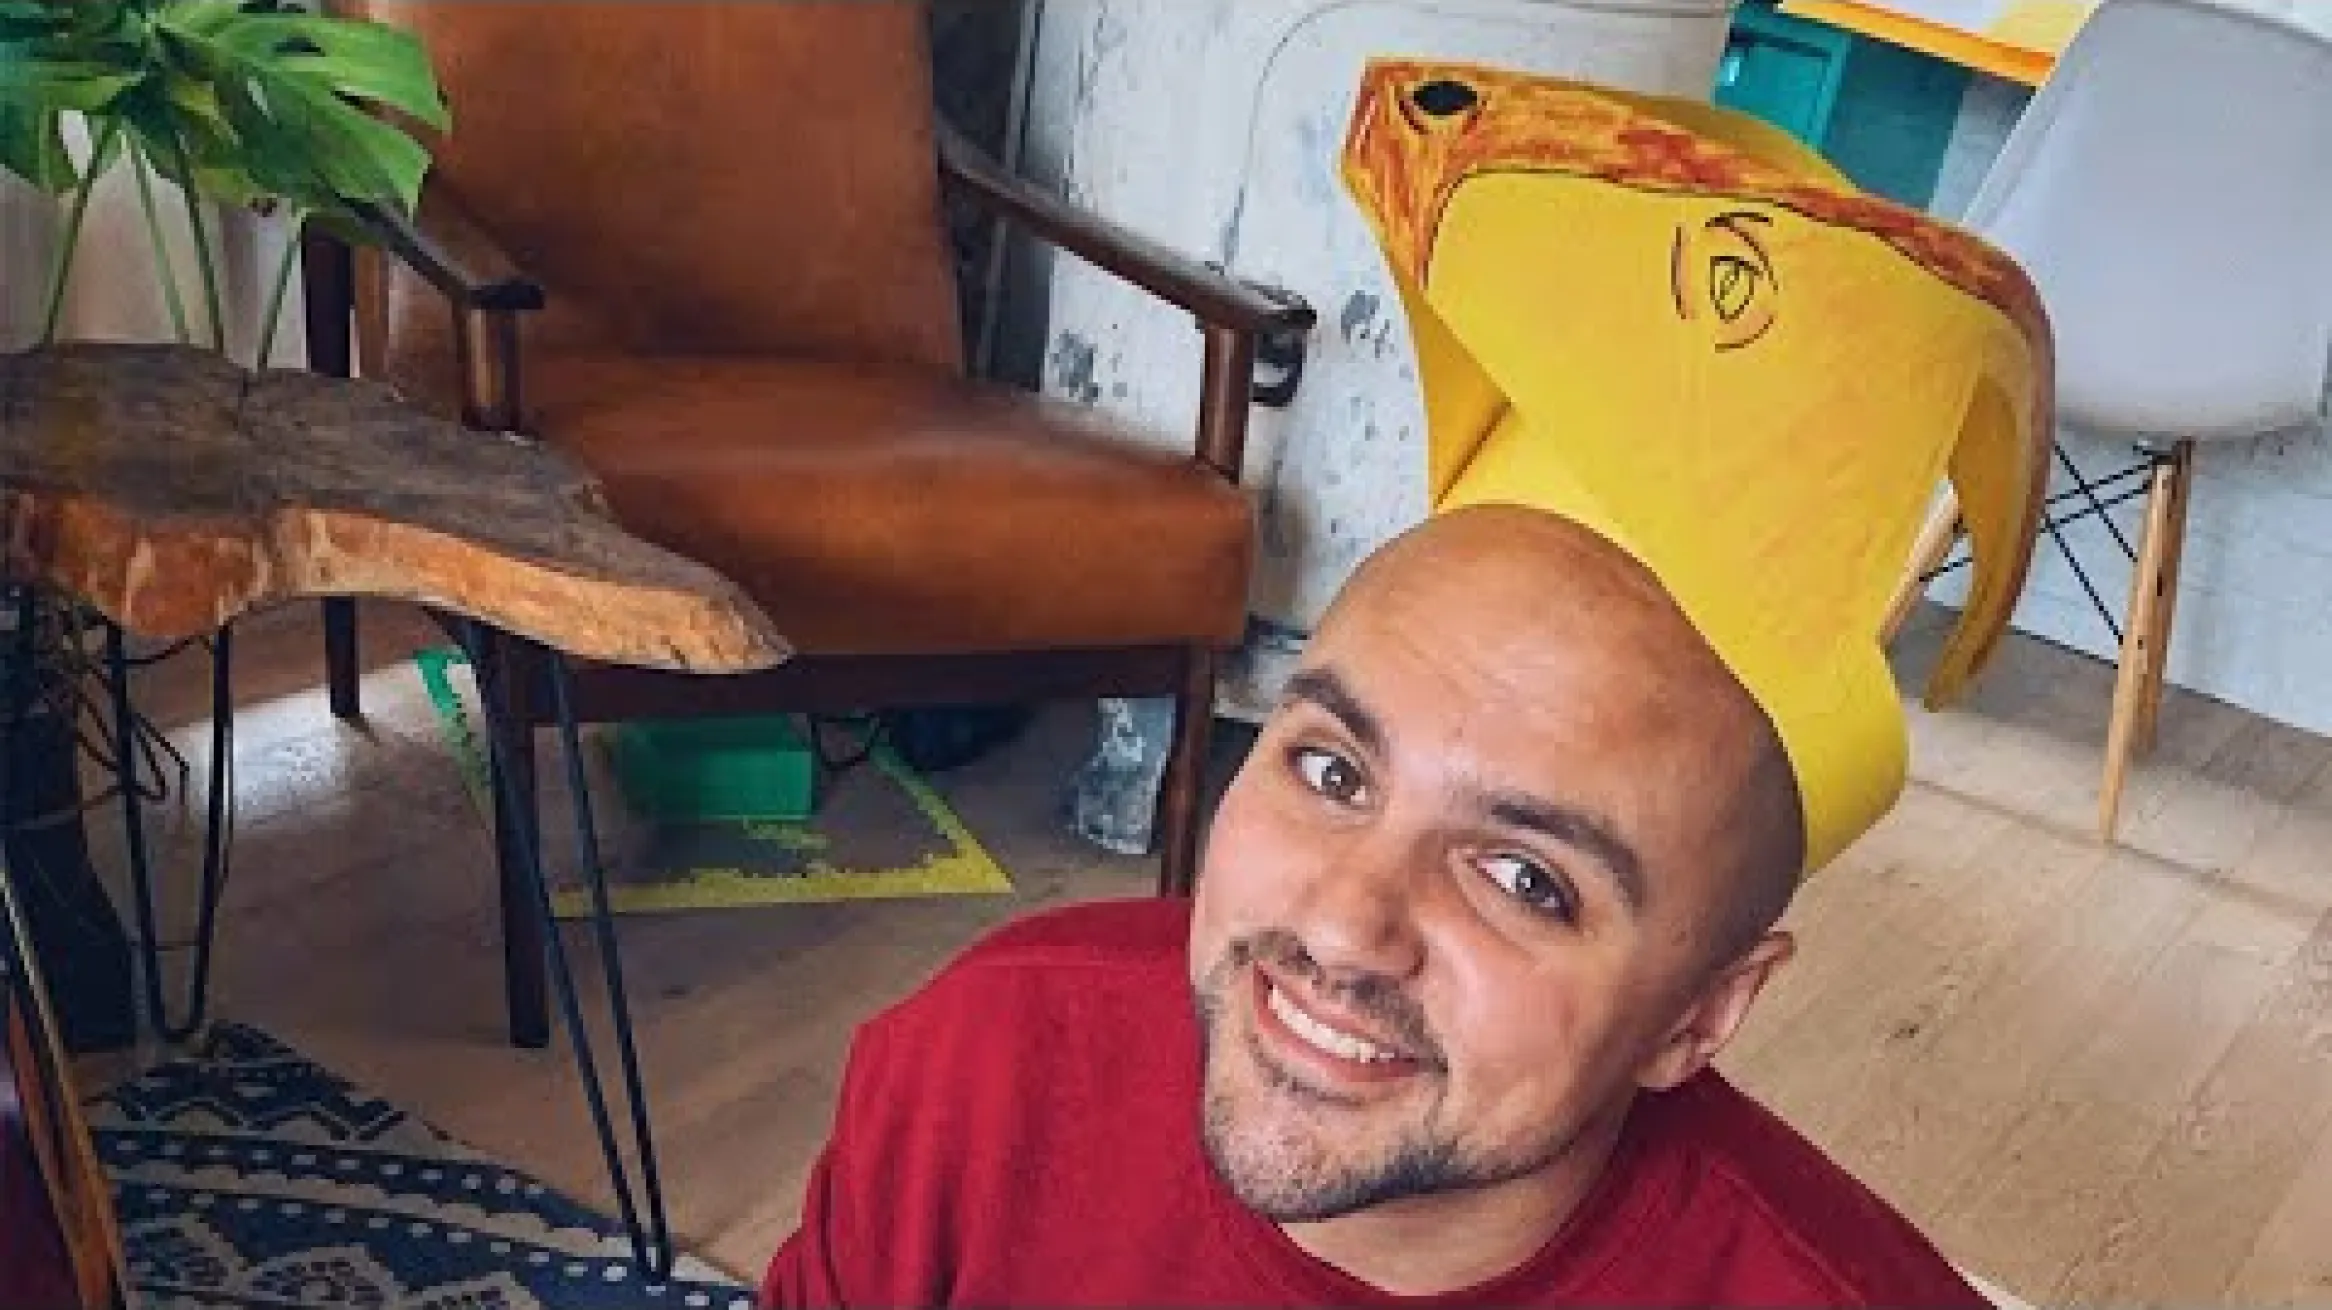
9. Done! Now go honk your way around your place pretending to be the glorious parasaurolophus you are!
Get to Know Kiron
As the ROMKids Coordinator & Camp Director, Kiron is the public face of the Royal Ontario Museum’s family and children’s programs. Kiron started volunteering at the ROM at age 14 and has never looked back. Though he majored in history at York University, Kiron also considers his early years as a ROMKids camper to be a highly formative part of his education. Now, he strives to provide engaging and educational kids’ programming so that future generations can look back on their ROM experiences as fondly as he has.
